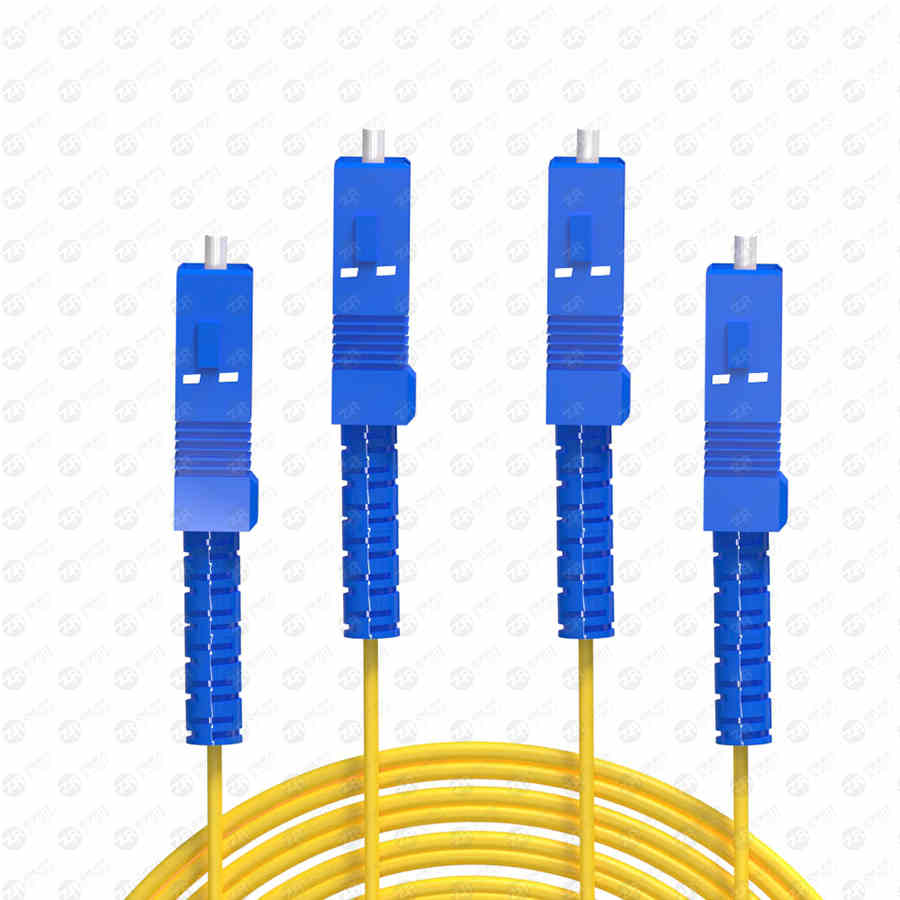
Installation steps of optical fiber cold splices
For friends in the integrated wiring industry, fiber optics should be familiar. So, how to install the optical fiber cold connector? Let me tell you about the installation steps of the optical fiber cold connector!
How to install optical fiber cold connector
The following is an example of 3M brand optical fiber cold connector model: 8812TLC product name: FC single-mode optical fiber connector (optical fiber cold connector):
Optical Fiber Cold Splice Installation
1. Product introduction
The 3MTLC-FC connector head uses mechanical splicing technology, which can quickly connect 3mm pigtail and FRP fiber 8-shaped leather cable (2mm*3mm) into a standard FC type connector on site.
3MFC cold splices are easy to operate, have good tensile strength, and can be opened and used repeatedly without replacing any components, which greatly reduces the cost of fiber termination.
2. Preparation of cold tool
Fiber Cold Splicing Tool
①Alcohol ②Non-woven fabric ③Fiber cutting knife ④Marking pen ⑤Wire stripper ⑥Scissors ⑦Adapter (included with 3M cold connector) ⑧ Repeat opening tool (included with 3M cold connector) ⑨3MFC cold connector A total of 9 products

3. Operation steps
3.1. Open the package of the cold joint, there are 3 parts: 1. Main body 2. End cap 3. Shell. Keep the outer packaging of the 3M cold connector for subsequent use
3.2. Put the shell and tail cap into the 3mm pigtail or FRP fiber optic cable into the home in turn
3.3. Strip the outer sheath about 6cm (please keep the Kevlar in the 3mm pigtail and fold it back temporarily)
3.4. Remove the 900μm tight sheath to the peeling place of the outer sheath
3.5. According to the picture on the packaging bag, use a marker to mark the position 24mm away from the peeling place of the outer sheath, and mark it on the 250μm coating layer
3.6. Peel off the coating layer from the 24mm mark, and clean the fiber with alcohol-dipped non-woven cotton
3.7. Place the 3mm pigtail or FRP in-home leather cable in the cutting adapter, and align the outer sheath with the marking on the inner bottom of the adapter. Note that some cutting knives are not suitable for 3M cutting adapters, sometimes this step can be directly Put the fiber into the cleaver for cleavage.
3.8. Place the 3M cleaving adapter in the adapter slot of the cleaver for fiber cleaving
3.9. Take out the cut fiber from the cutting adapter and compare it with the picture on the packaging bag to confirm that the length meets the requirements
3.10. Insert the cut fiber into the main body of the cold connector, pay attention to arrange the Kevlar on the back
3.11. Stop further insertion when the outer sheath of the 3mm pigtail or FRP in-home sheathed optical cable reaches the limit of the optical cable. 250μm coating layer can be clearly observed bending
3.12. Confirm the bending of the optical fiber, keep it bent, and press the white crimp cover on the main body to the end
3.13. Release the bend of the fiber to make it straight
3.14. Restore the natural direction of the Kevlar, and close to the back of the main body of the cold joint, put the end cap on the main body of the cold joint, and screw it tightly. Take care to keep the fiber straight at all times
3.15. Cut off the excess kef
3.16. Push the casing onto the main body from the direction of the optical cable
3.17. Operation completed
4. Repeat opening
4.1. Put the dust cap on the ceramic core, then pinch the connector shell with your fingers, push it hard in the direction of the optical cable, and rotate it slightly at the same time to take out the shell
4.2. Unscrew the end cap and back it away from the cold joint body
4.3. After removing the dust cap on the main body, place the cold joint on the re-opening tool corresponding to the 3 gap positions, press the main body against the re-opening tool forcefully, and lift the crimping cover on the main body.
4.4. Carefully pull out the main body of the optical fiber cold connector axially, and be careful not to shake the optical fiber and the main body during the process of taking out, so as to avoid the accidental breakage of the bare fiber in the cold connector, which cannot be reused
Well, the above content is the relevant content of how to install the optical fiber cold connector and the installation steps of the optical fiber cold connector shared by Xiaobian. I hope to provide you with some reference!

